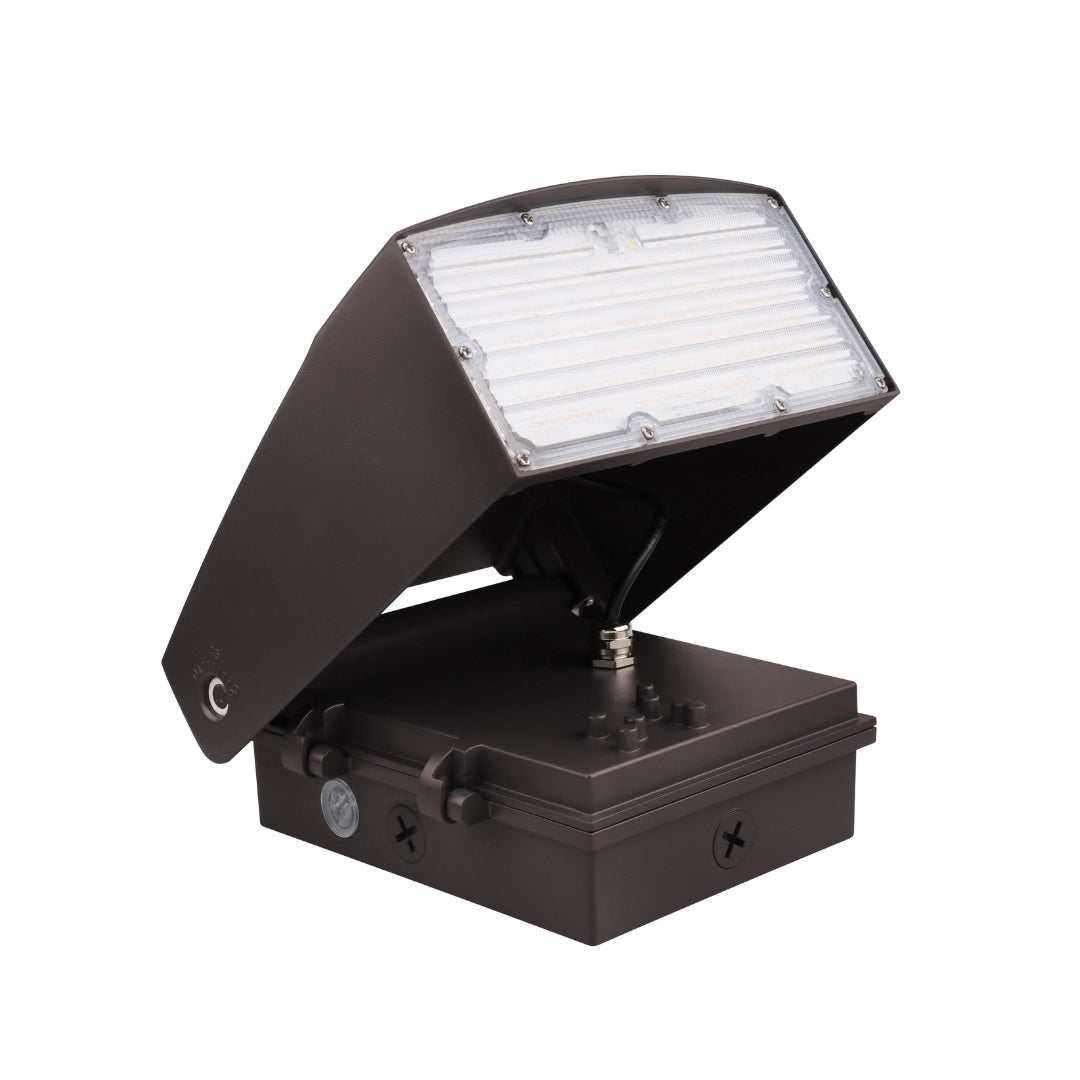
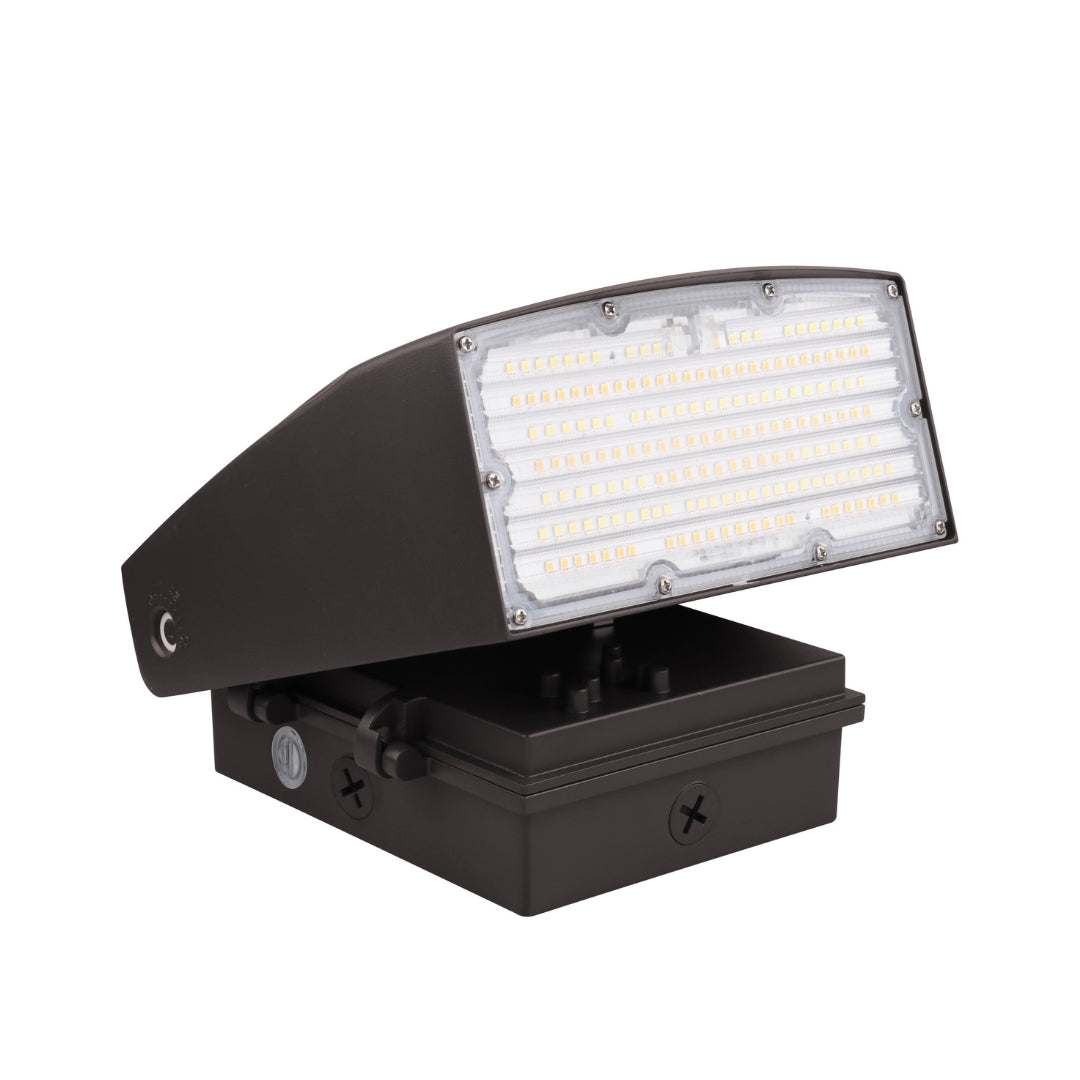


Description
The AWP Series adjustable full cut off LED wall packs are excellent options for outdoor lighting systems. This full cut off LED adjustable wall pack operates at 80W and emits up to 11760 lumens of brightness with impressive efficacy of 147 lm/w. The beautiful design provides an elegant look which have a ADC12 Aluminum heat sink and outdoor powder coating. Our Adjustable Wall Pack Lighting lasts over 50,000 hours, which are over 3x the lifespan of standard Metal Halide and High-Pressure Sodium bulbs and has a 5-year warranty.
Features
- Selectable CCT: The tunable CCT button allows you to customize the color temperature from three options 3000K warm white; 4000K natural white; and 5000K daylight white.
- IP65 Wet Rated: Our full cut off LED wall pack is IP65 rated which makes it weatherproof and waterproof for outdoor applications.
- Durability: The adjustable wall pack has an optical lens with high light transmittance PC, anti UV protection, and fire resistance. The fixture has an aluminum LED board that is highly conductive, waterproof, aging resistant, and salt mist resistant.
- Safety and Certifications: UL and DLC 5.1 premium certified for safety, quality, and rebates. Now, it also meets DLC 6 requirements.
This product is listed under DesignLights Consortium® (DLC) which does not only provide eligibility for rebates from most utility providers, but also promotes high-quality and energy-efficient lighting products through vigorous testing protocols.

Product Spec Sheet
Click Here to view the Product Spec Sheet.
Download the Installation Guide Here.
Installation Manual
1. Turn up the front cover, loosen the 2 screws and take off the back plate.
2. Secure the back plate to junction box by screws, put silicone glue to seal between the back plate and mounting surface. See figure 1.
3. Hang the fixture on the back plate. Connect wires into wiring terminal; white wire to “Neutral” terminal, black wire to “Live” terminal, green wire to “Ground” terminal; and fix them by screws. See figure 2. Please mention the main specification as above before wiring.
4. Close fixture and tighten the 2 screws. See figure 3.
5. Adjust the fixture to a proper angle.
